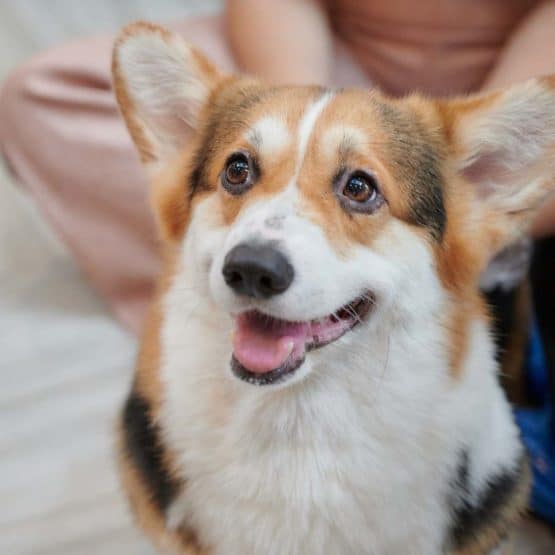
Corgis are cute, ginger dogs with short legs and big, pointy ears. But what to do if we have a corgi with floppy ears?
Is this a normal occurrence, or should you be worried? In this article, we’ll look at this phenomenon and explain why you can find a corgi with floppy ears. Let’s get started!
Are Corgis Born with Floppy Ears?
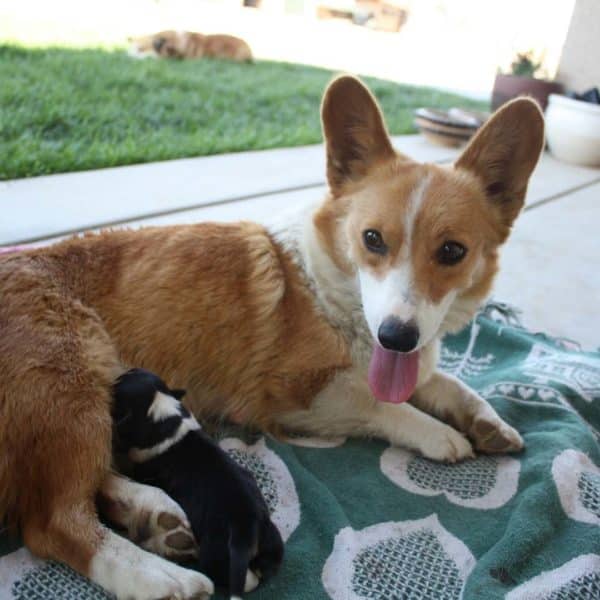
If you see a baby corgi with floppy ears, you should know that this is entirely normal.
Even though corgis are known for their upright ears, they aren’t born with them. In fact, corgi puppies have flat, drop ears that are almost considered floppy.
As they grow older, their ears will probably begin to rise. It’s not unexpected for the corgi to even have one floppy and one upright ear during this time.
This can make their appearance funny, even a bit crooked. By the time corgi is four to six months old, his ears should be upright.
This is just the standard, though, and this time period can differ from dog to dog.
Keep in mind that sometimes corgi’s ears can flop while he’s teething. This shouldn’t concern you.
Once the teething is done, they should be upright once again.
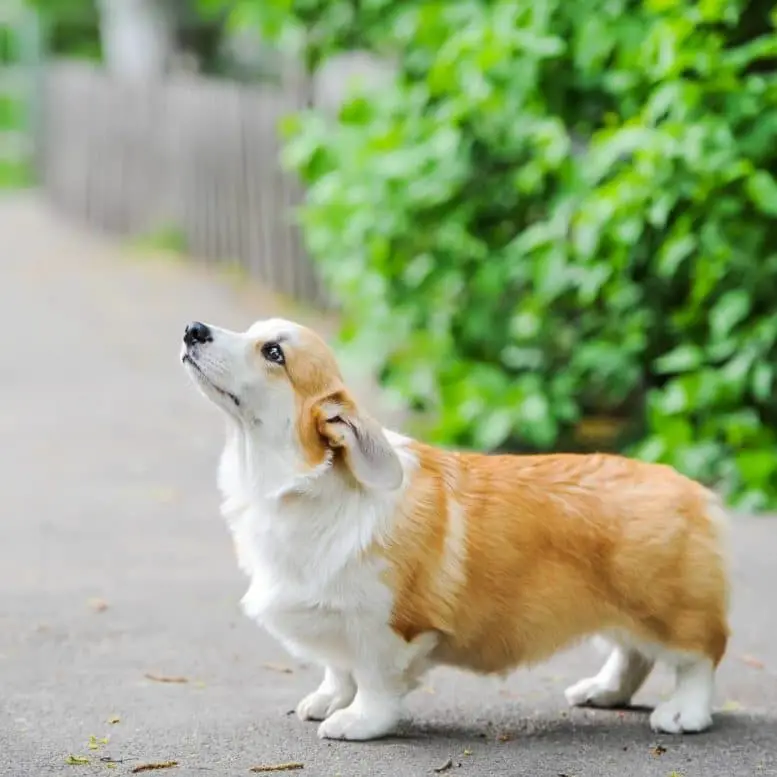
Sometimes, however, corgi’s ears never rise. This can lead to a full-grown corgi with floppy ears.
Some people think this is cute; others do not and would prefer their corgi to have a ‘standard’ appearance.
Whatever the case is, this is entirely normal, and there is nothing wrong with a corgi without upright ears.
Keep in mind that the American Kennel Club requires corgis to have upright ears.
Corgis with Floppy Ears Can Not Participate in Dog Shows
Since American Kennel Club requires corgis to have upright ears, they do not allow corgis with floppy ears to participate in dog shows.
For some people, this is important, and they might tape their corgi’s ears. Other than that, there is no reported issue if the corgi doesn’t have ears like in online pictures.
Can You Fix Corgi with Floppy Ears?
If you insist that your corgi has upright ears, don’t worry. There is a way to do this. Even though we think corgis are cute anyway, there is nothing wrong with wanting your puppy to look a certain way.
The way to ensure your corgi’s ears straighten you can always tape them.
Taping ears is a standard procedure that isn’t painful for the dog.
This is commonly done with Doberman ears if they won’t stand up after the cropping. Luckily, corgi’s ears don’t get cropped, so don’t think the two processes are connected.
Taping ears is a cruelty-free way of making the canine ears stand upright. So, if corgi ears won’t stand up, taping is the preferred method for ‘fixing’ this.
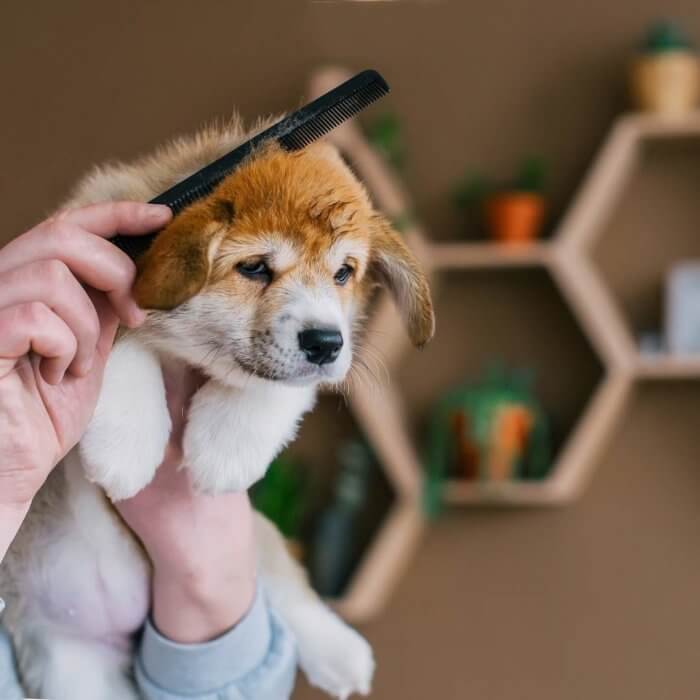
Even though we’d always recommend breeders do the corgi ears taping, there is a way to do this at home.
We’ll show you the step-by-step process. Just make sure you are gentle and not causing your corgi any pain. This method is supposed to be painless, albeit a bit uncomfortable from time to time.
How to Tape Corgi Ears Up?
To complete the corgi ear-taping process, here’s what you’ll need:
- One corgi with floppy ears not older than 16 weeks with relatively clean ears
- Two 10-12 inches of 2-inch or 1½-inch wide masking tape
- Two 6-8 inches of 2-inch or 1½-inch wide masking tape
- Plenty of dog treats suitable for puppies
Some breeders use duct tape instead of masking tape. Duct tape can last longer, and you don’t have to replace it every few days. However, we would not recommend it.
Duct tape can sometimes hurt the dog’s delicate ears or cause infection. Fur can get stuck, as well, and removing the tape can cause pain.
Masking tape is much safer as it reduces the risks of injuries.
Sure, you will have to change it every day or two, but this is a more humane option. Not just that, but it won’t leave any sticky residue once you remove it.
Also, try not to mix it with the painter’s tape. This tape looks the same, but it’s not as sticky. Painter’s tape won’t be able to hold on to the corgi’s ears at all.
Now that we’ve made that clear, here’s how to tape your corgi’s ears.
Step one
Clean your puppy’s ears. Make sure they are completely dry. Then, tear off the beginning of the tape and place it somewhere within your reach.
The good idea is to stick it to a table edge. This way, you’ll quickly get it once you need it.
Step two
Take the corgi into your lap. Turn him so that he is facing away from you. If you have trouble with this, place him somewhere he’ll be calm.
Give him the treat to distract him. Then, while he’s munching it, take your tape with one hand. With another, lift your puppy’s ears, so they are in an equal position.
If only one of his ears is floppy, align it with the one standing upright.
Step three
The puppy will now probably try to see what you’re doing. Ignore him and wait until he gets bored.
Give him another treat if you think this will help. Once he is calm, stick one end of the masking tape to the backside of the pup’s ear.
Make sure the longest end is at the bottom.
Step four
Now, you have to act fast. The puppy will probably get confused soon, and you have to do the rest before he wriggles.
Gently fold the long part of the 10-12-inch tape up the front of the puppy’s ear from below. This should leave a ‘flange’ at the bottom.
Don’t fold the ear on its edge! If you did this correctly, the dog shouldn’t feel any pain. Still, he might whine if he is scared of this new sensation. If this disturbs your puppy too much, give him more treats.
Step five
Keep wrapping the masking tape around the ear, all the while leaving the flange on both sides. Gently press the tape to stick against both sides of the ear, inside and outside.
The ear has to be flat underneath all that tape. Any fold will ruin the look of the ear.
Also, the tape shouldn’t be so low to block the ear canal opening. If the ear gets folded, you have to remove the tape and then do everything from the beginning.
And if the tape gets too low and ends up covering the canal, tear it a little bit at the bottom. This should provide enough air circulation and enable your dog to hear well.
Step six
Repeat the steps above on the other ear, even if it’s already straight. This will help you ensure everything is straight and aligned.
Step seven
Try placing your puppy on his back for at least a few moments. Pet him on the head or do something he likes to calm him down.
Then, look at his ears and how they look with the tape. If you were to draw imaginary lines from the nose to the ear tips, you should get the letter ‘V.’
The line should go through the center of the irises, as well. If this is the case, you’ve done everything right so far.
Step eight
This is the trickiest step of them all. Place the puppy back into the first position. He should sit in your lap, facing away from you. Give him one more treat, if needed.
Then, get the shorter tape in your hand, as once again, you’ll have to act fast. Place the ears into the position so it would make one-half of the ‘V’ you’ve seen before. Be gentle!
Stick one end of the tape onto the ear’s inner part and make it as straight as possible. Considering your corgi pup is probably disagreeing with this, it might be impossible to make it entirely straight.
Still, the straighter it is, the better the results.
Then, lift the other ear into the same position. Stick the other end of the tape onto it, so two ears are connected.
Step nine
Turn your pup once again, so you can see what you’ve done. While it doesn’t have to be perfect, ears shouldn’t be crooked. Also, they shouldn’t be too close together or too far apart.
If this does happen, carefully peel off the middle tape on one end, and re-stick it. Treats are here to make your puppy calm down if needed.
Step ten
Take another piece of the shorter tape and stick it over the sticky side of the horizontal tape. If there is any hair caught between the measuring tape, carefully pull it loose.
Otherwise, your corgi might pull it out, and this will hurt. Then, free the puppy and watch how he acts. Most puppies will immediately try to remove the tape.
Distract him with treats or play with him, so he forgets about it. If he does manage to remove it, wait for a while, then re-tape it. It shouldn’t take long for him to forget that there is tape on his ears.
If this is your first time taping corgi’s ears, don’t worry if you don’t do this on the first try.
It can be tricky, as the dog moves around a lot. In fact, chances are very slim you’ll do this without at least a few mistakes.
Tips and Tricks For Dealing with a Corgi with Floppy Ears
- Give your dog treats whenever he gets too wriggly.
- If treats don’t work, try getting a helper who could distract the puppy while you’re working. Just ensure the pup stays calm enough.
- Remove the measuring tape every two to three days, then re-tape it. The process needs to be repeated until the ears stay up on their own.
- Any redness is a sign of irritation. Remove the tape immediately if you notice it. If you still need to tape his ears, use gauze or a cotton ball. Place it under the tape to ensure it doesn’t touch the skin.
- Some products might help you with the process, such as a corgi ears headband. These products can hold his ears in place while also looking stylish!
Read Also: Are Corgis Aggressive
Bottom Line
Having a corgi with floppy ears can be a unique and expensive experience. These dogs are cute anyway, and many owners love having a dog that looks special and one-of-a-kind.
Still, if you want your dog to look according to the AKC standards, that’s okay.
Ear taping is a painless process that will straighten a corgi’s ears in just a few weeks. Just make sure you’re gentle with your pup.
And if the ears remain floppy – don’t worry, this won’t cause him any health issues. Your dog will have a unique look that everyone will love!
Read Next: Are Corgis Smart Dogs